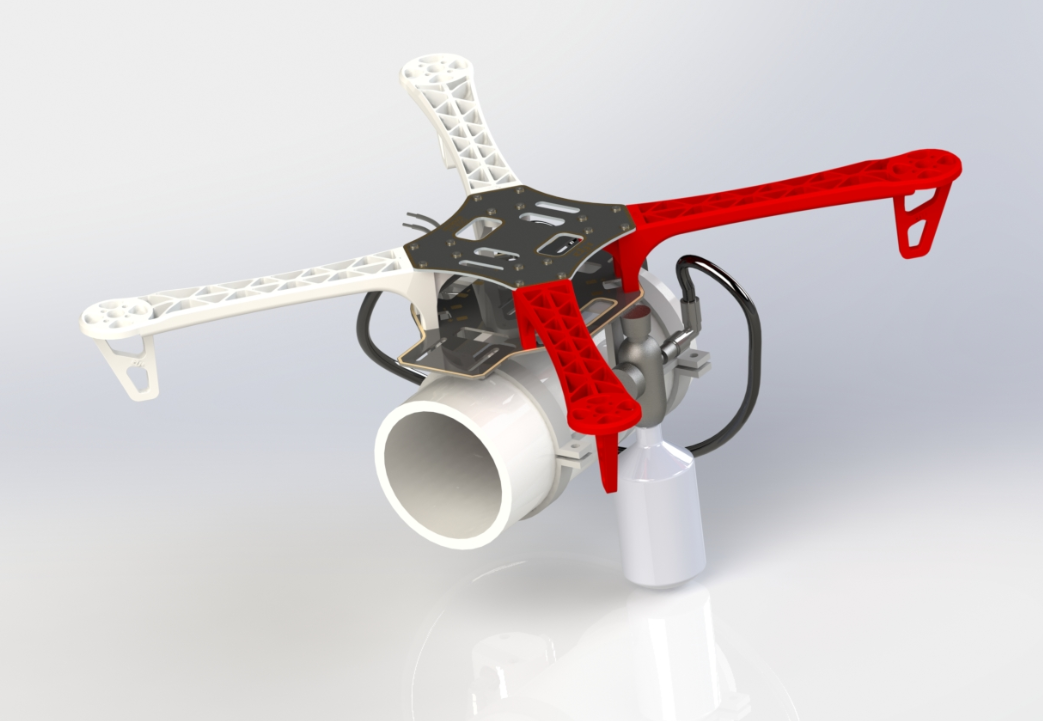
Firefighting Drone
Drone Science Class
During the Fall 2020 semester, I have been in a drone science class where we learn about how drones work, Federal Aviation Administration regulations, typical sensors used, and Python to use on rented Tello DJI drones. The class focuses on a project where the students come up with an idea related to drones that could be used for an entrepreneurship challenge. My friends and I decided to create a mechanism that could be attached to a standard F450 drone frame that would use readily available CO2 cartridges to launch a projectile at a fire that would explode and release an extinguishing agent. The pandemic makes it hard to work together, so each person makes the contributions that they can.
The mechanism has been assembled and the code runs as expected. However, due to a leak in the regulator, the projectile cannot be launched. Due to time constraints and to save resources, the regulator was not replaced. Although the project has officially finished, I would like to continue it and get it working in the future.
Below are screenshots of the parts currently in the Solidworks Assembly. Parts either modeled based on product information or provided like the McMaster-Carr parts.
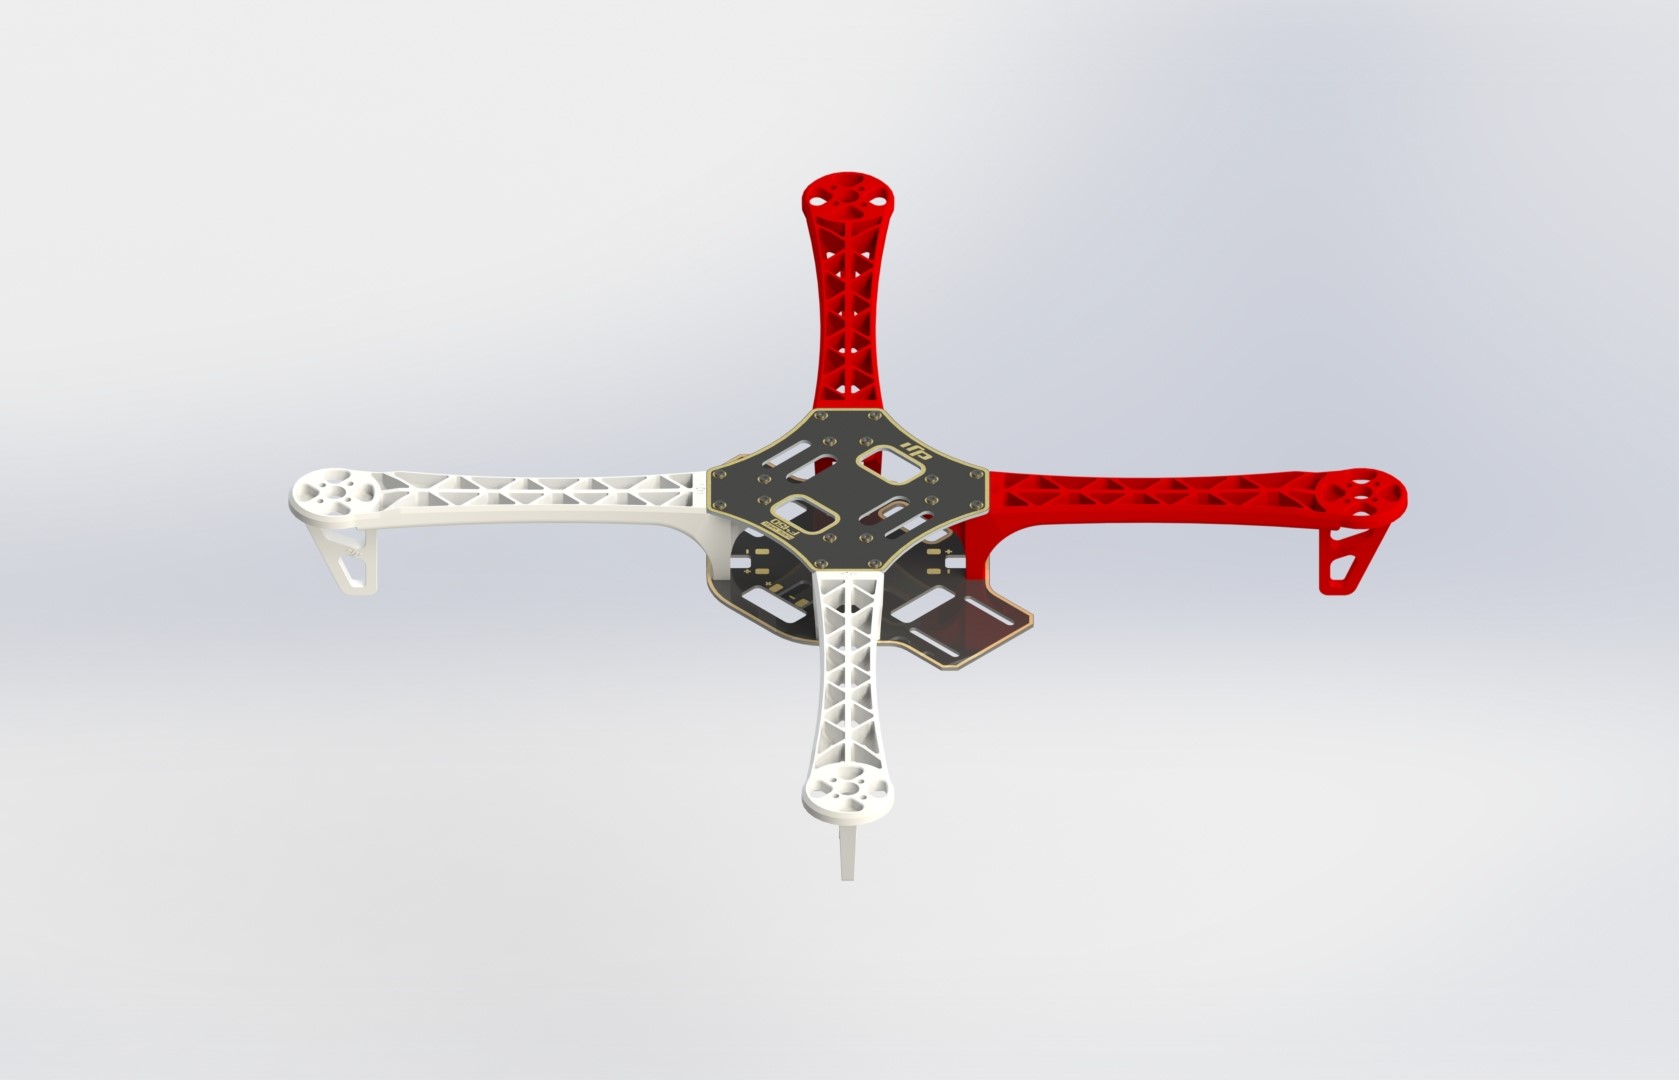
F450 Drone Frame
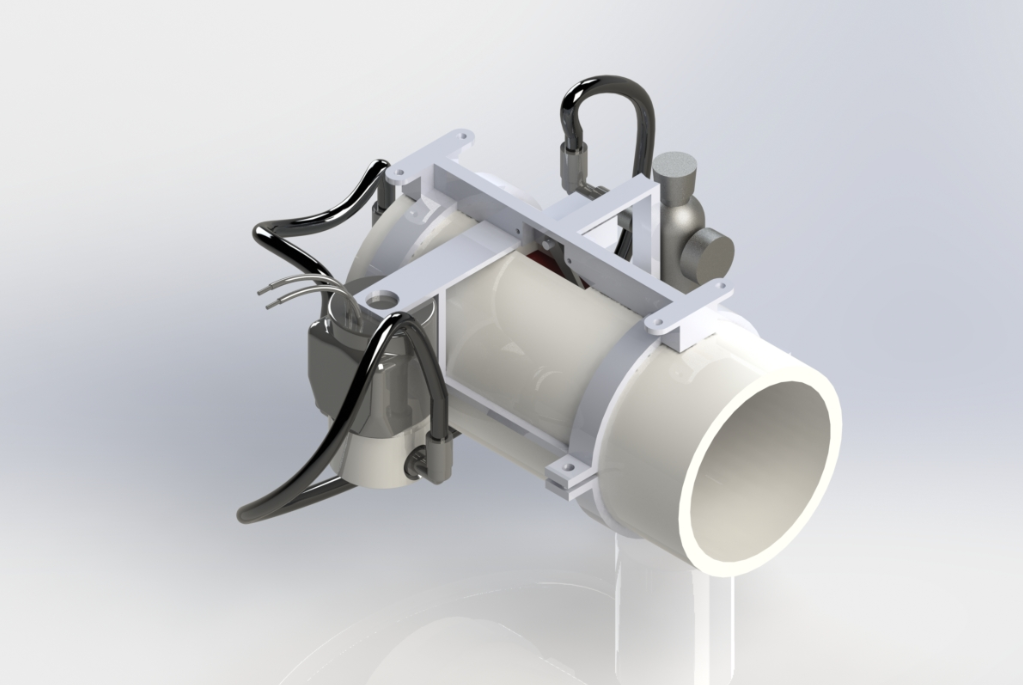
Fire Extinguishing Launcher Mechanism
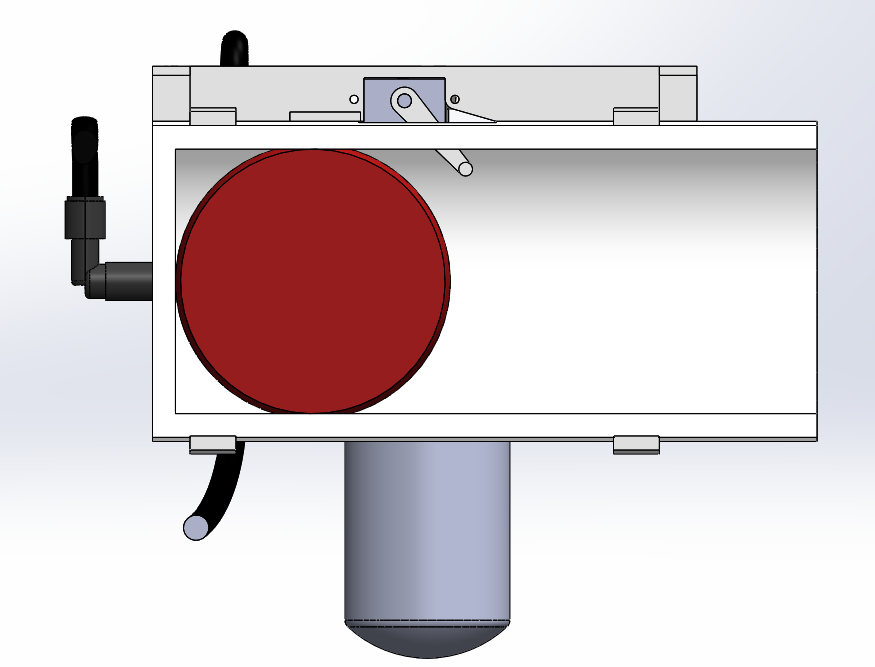
Launcher Cross Section
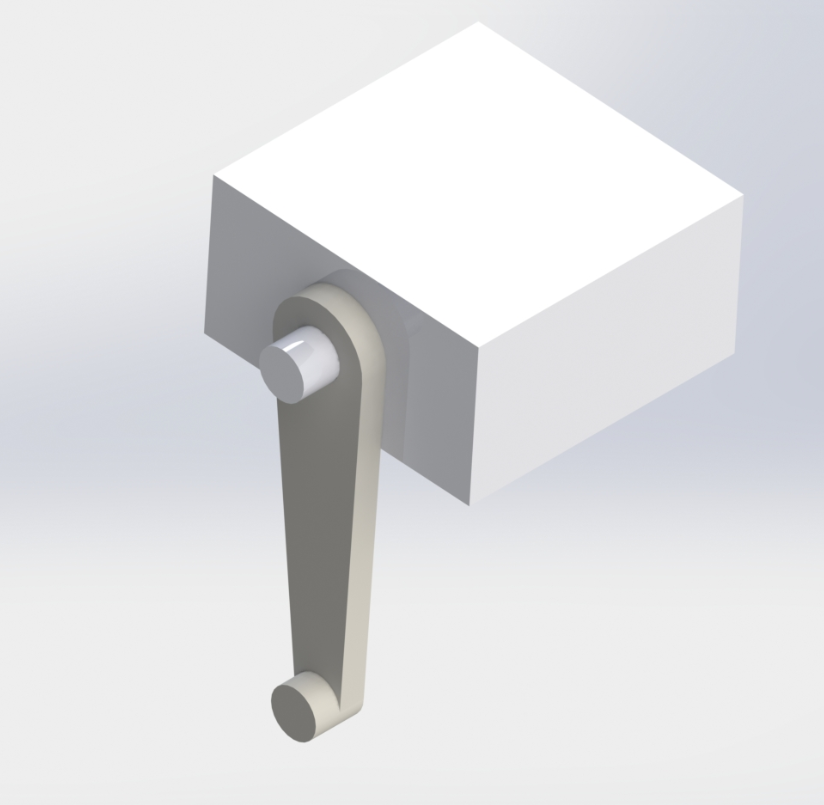
Servomotor with Cam
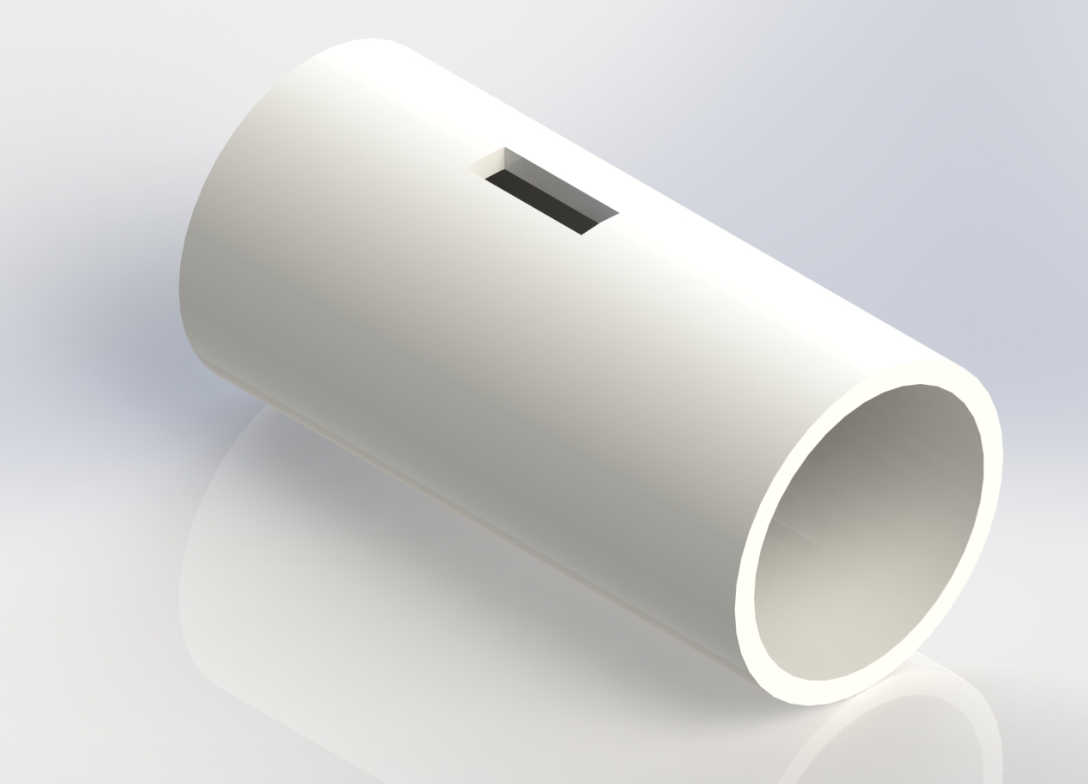
ABS Barrel

Fire Extinguishing Projectile
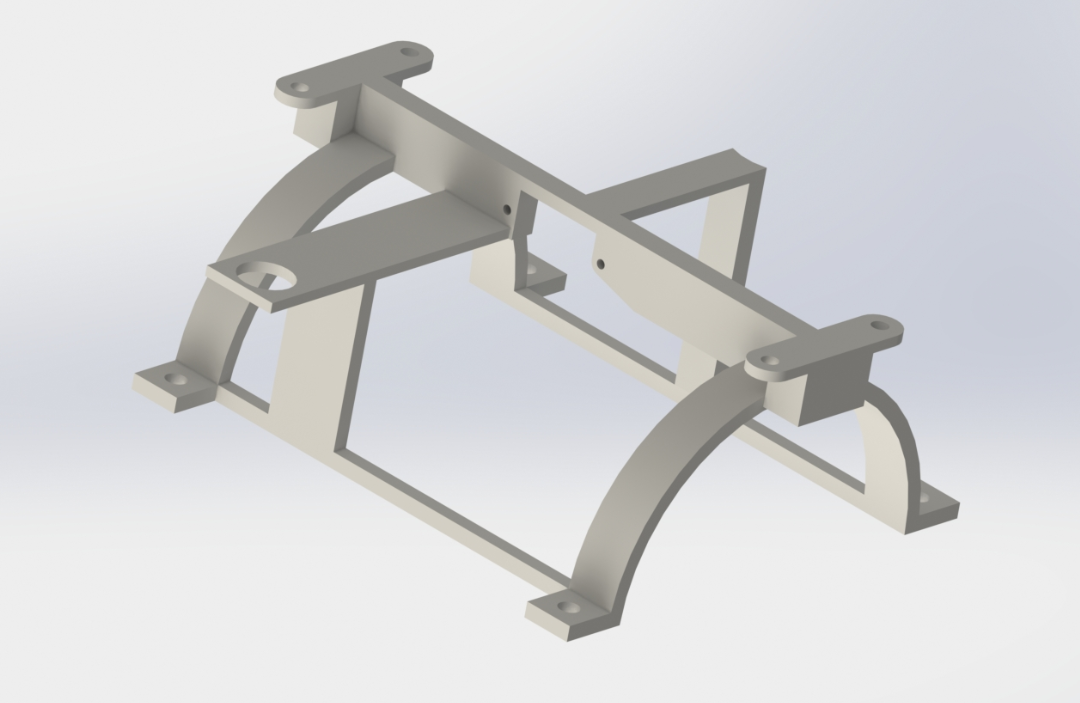
Top Bracket
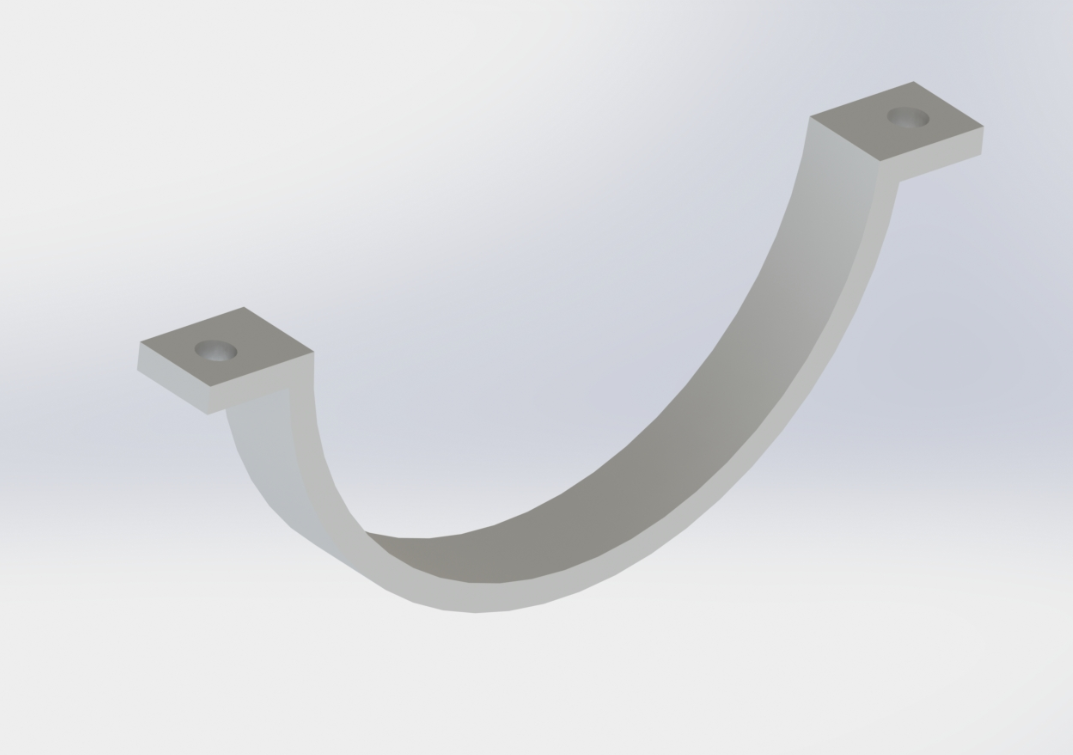
Bottom Bracket
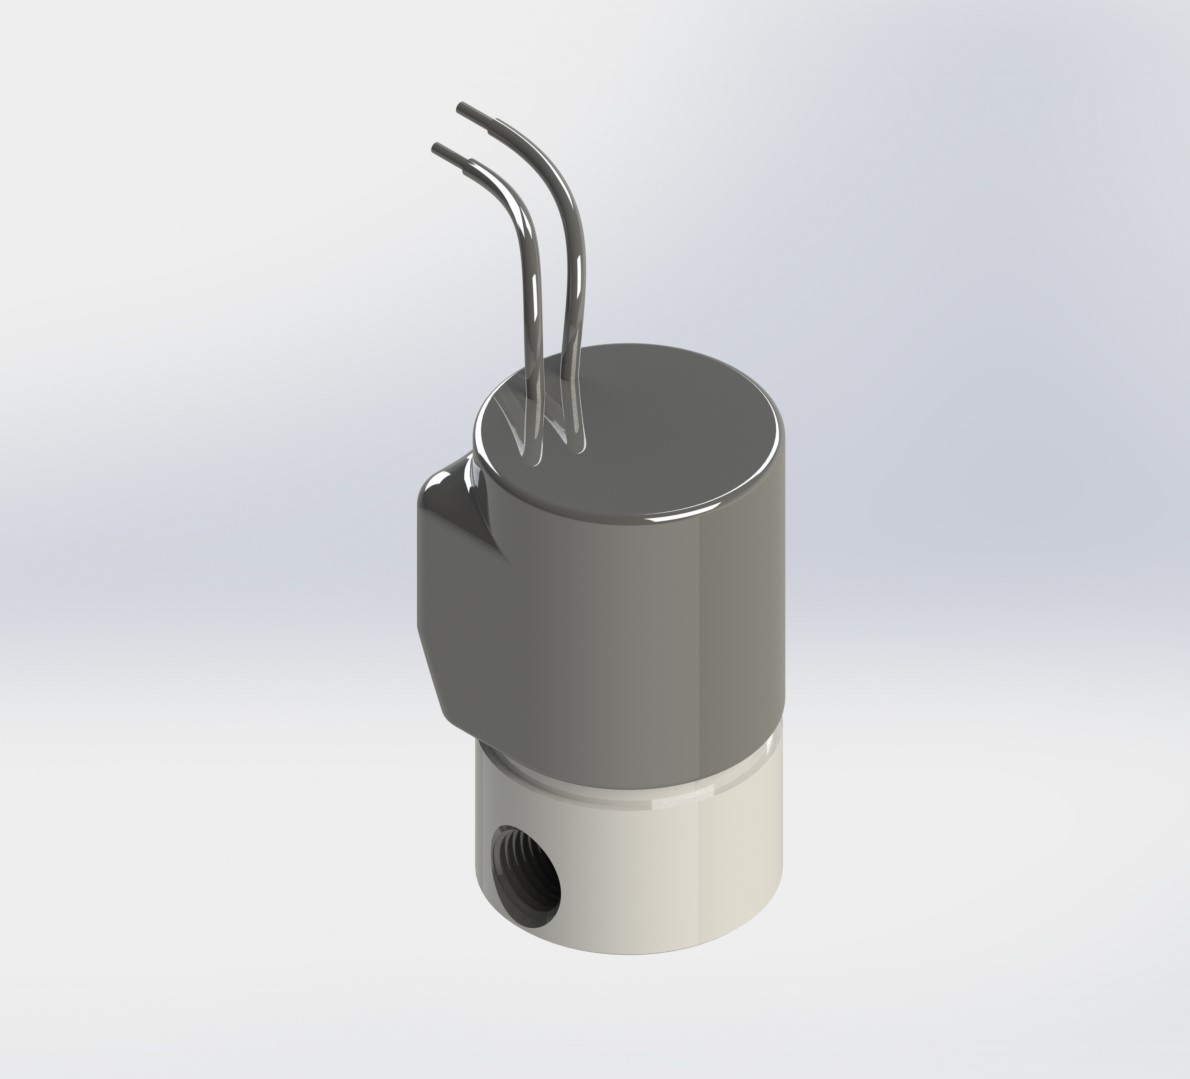
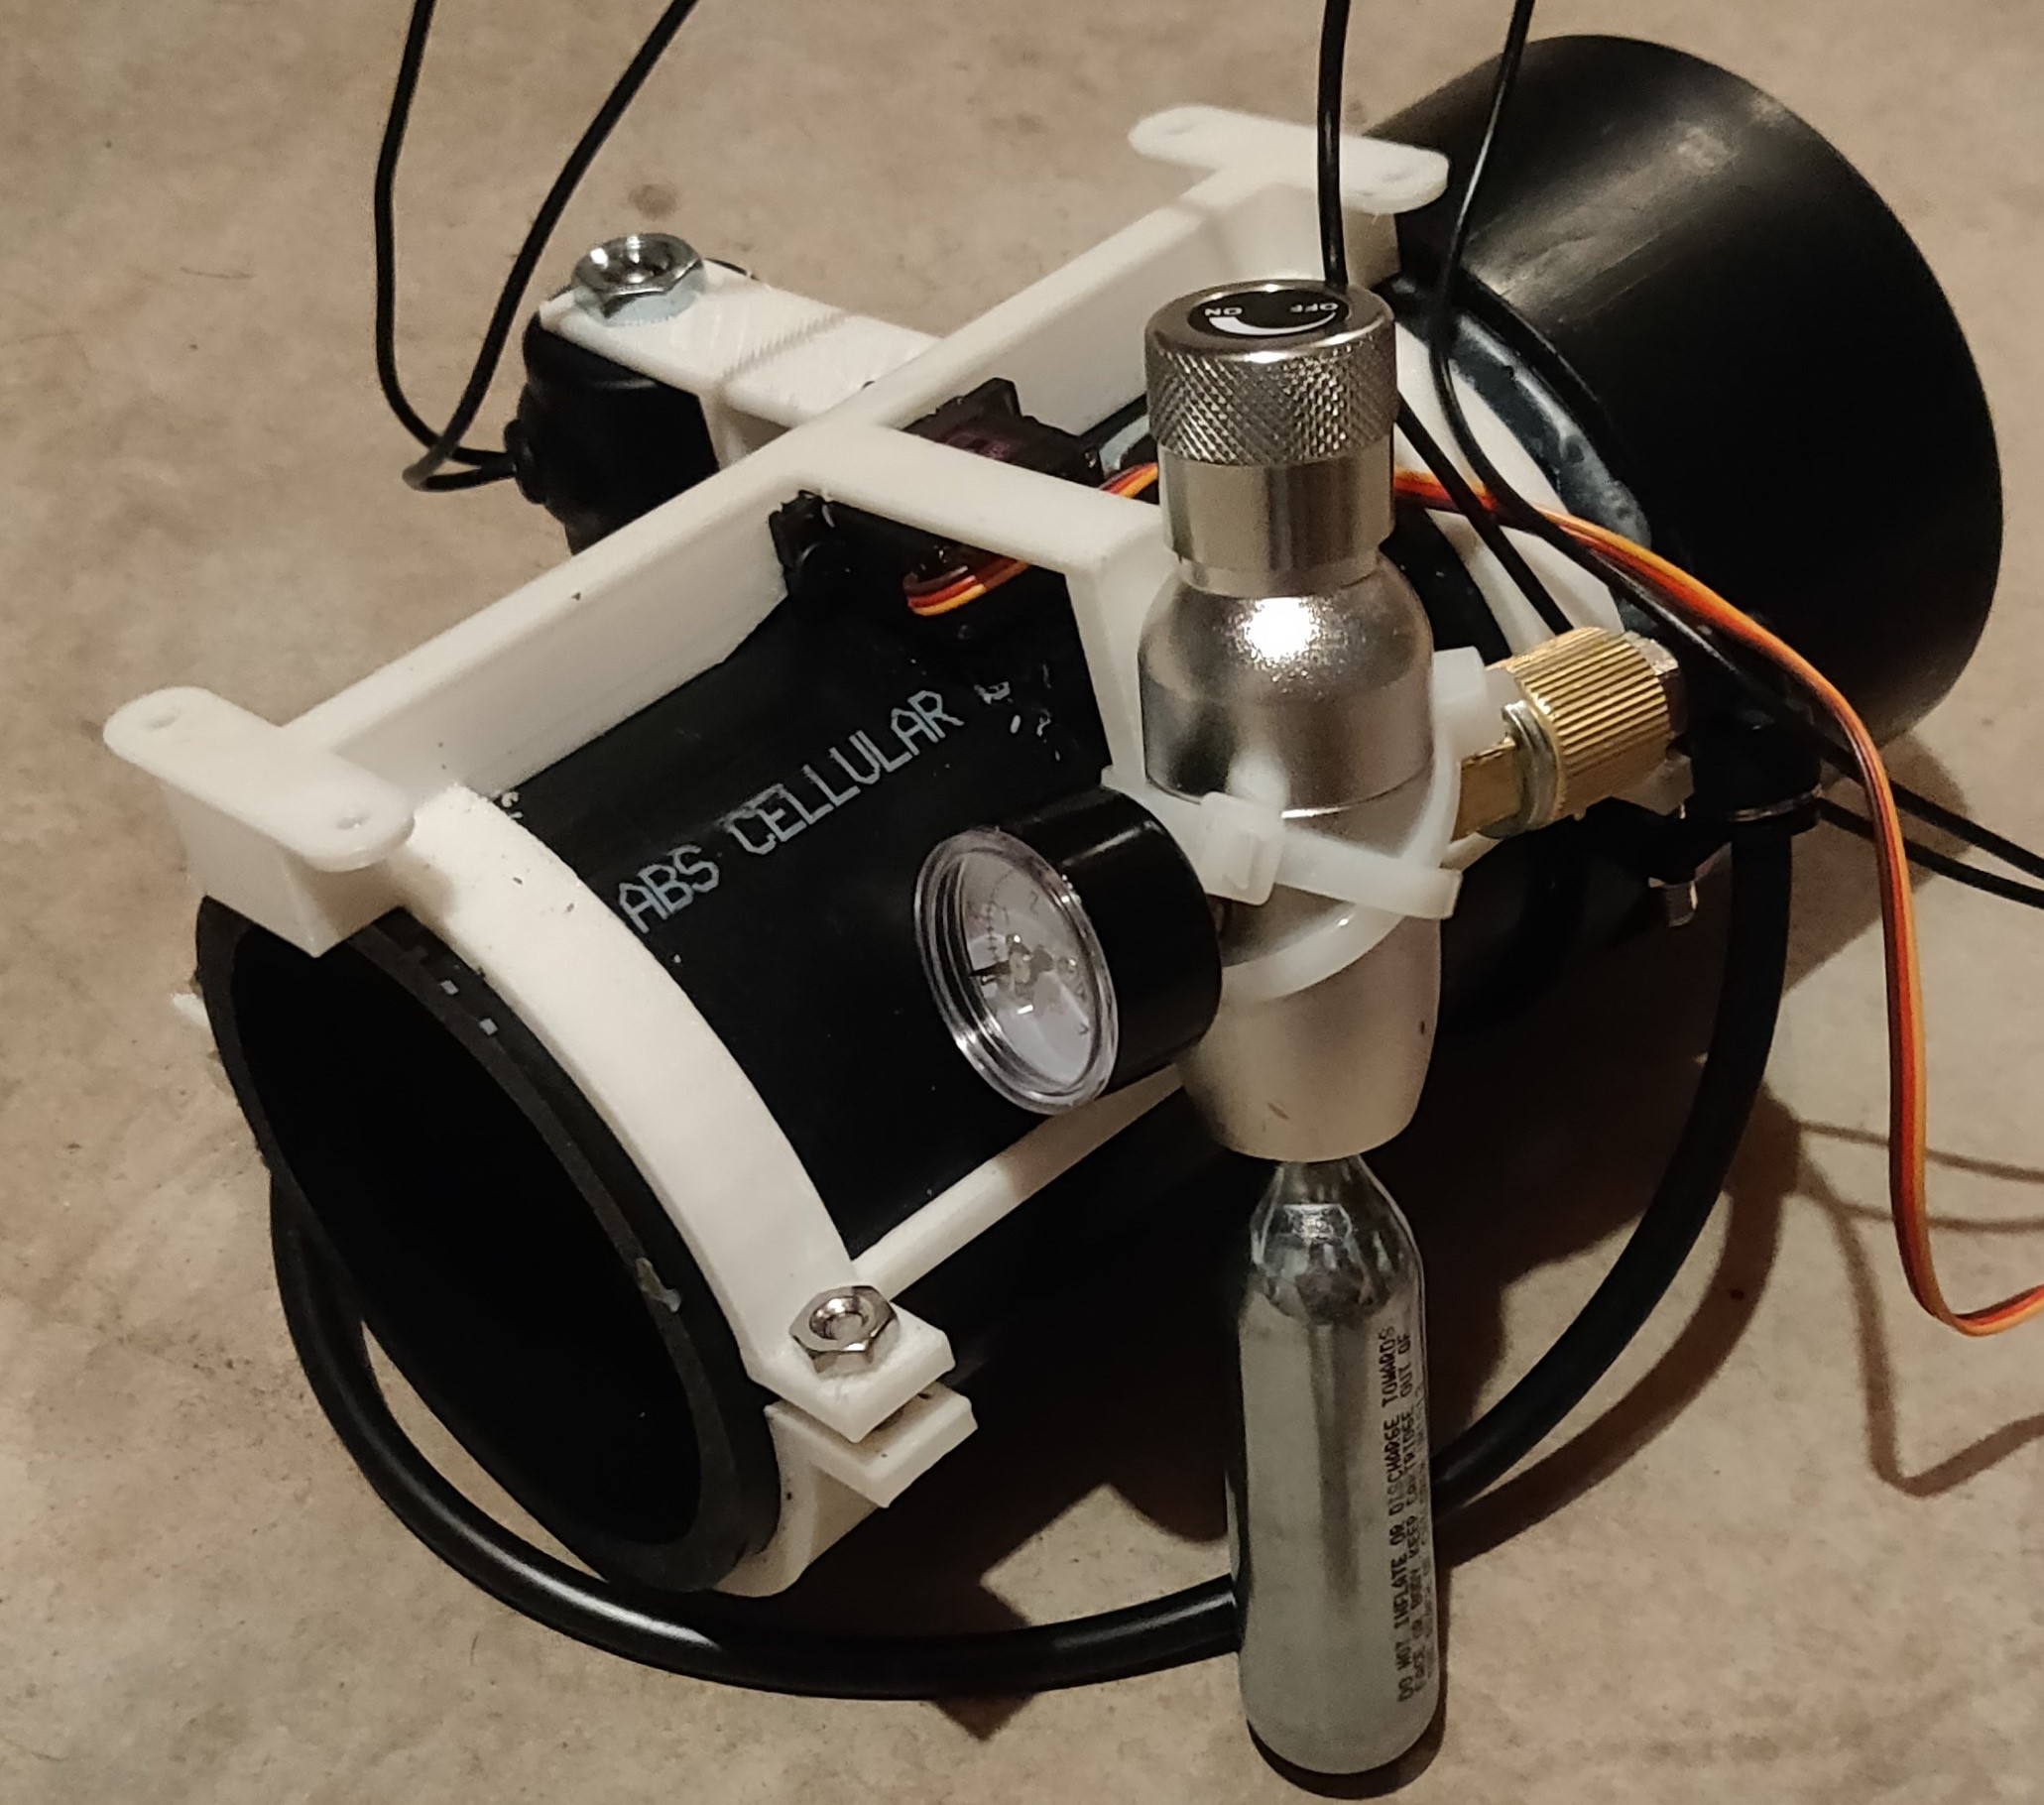
Solenoid Valve
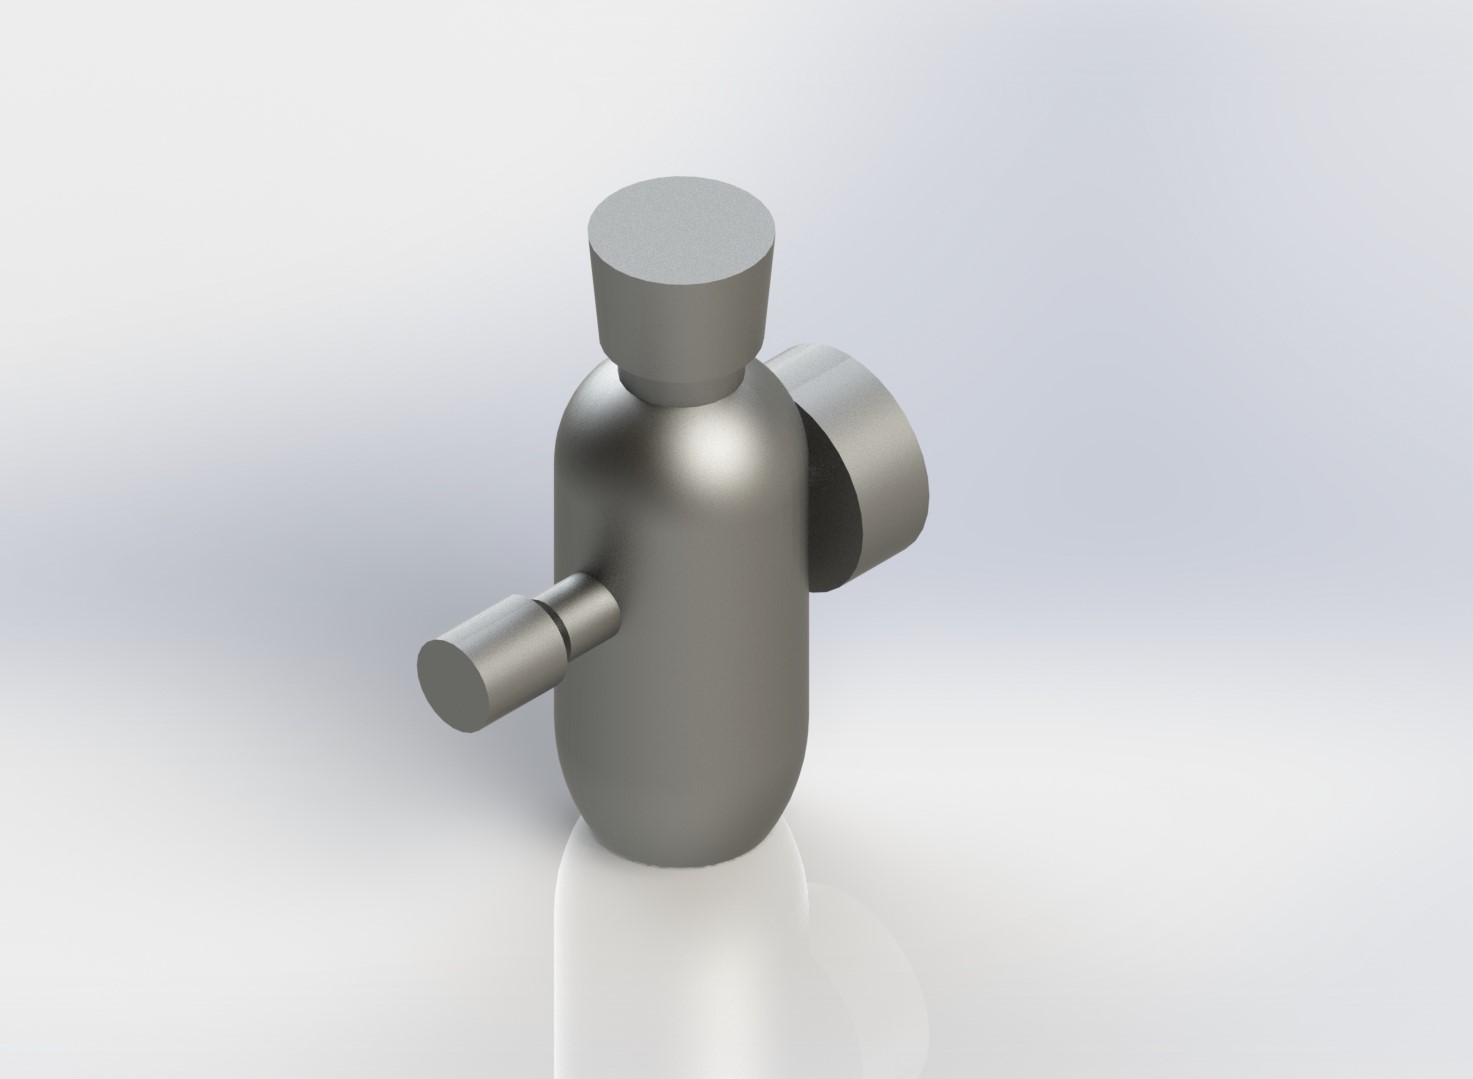
CO2 Regulator
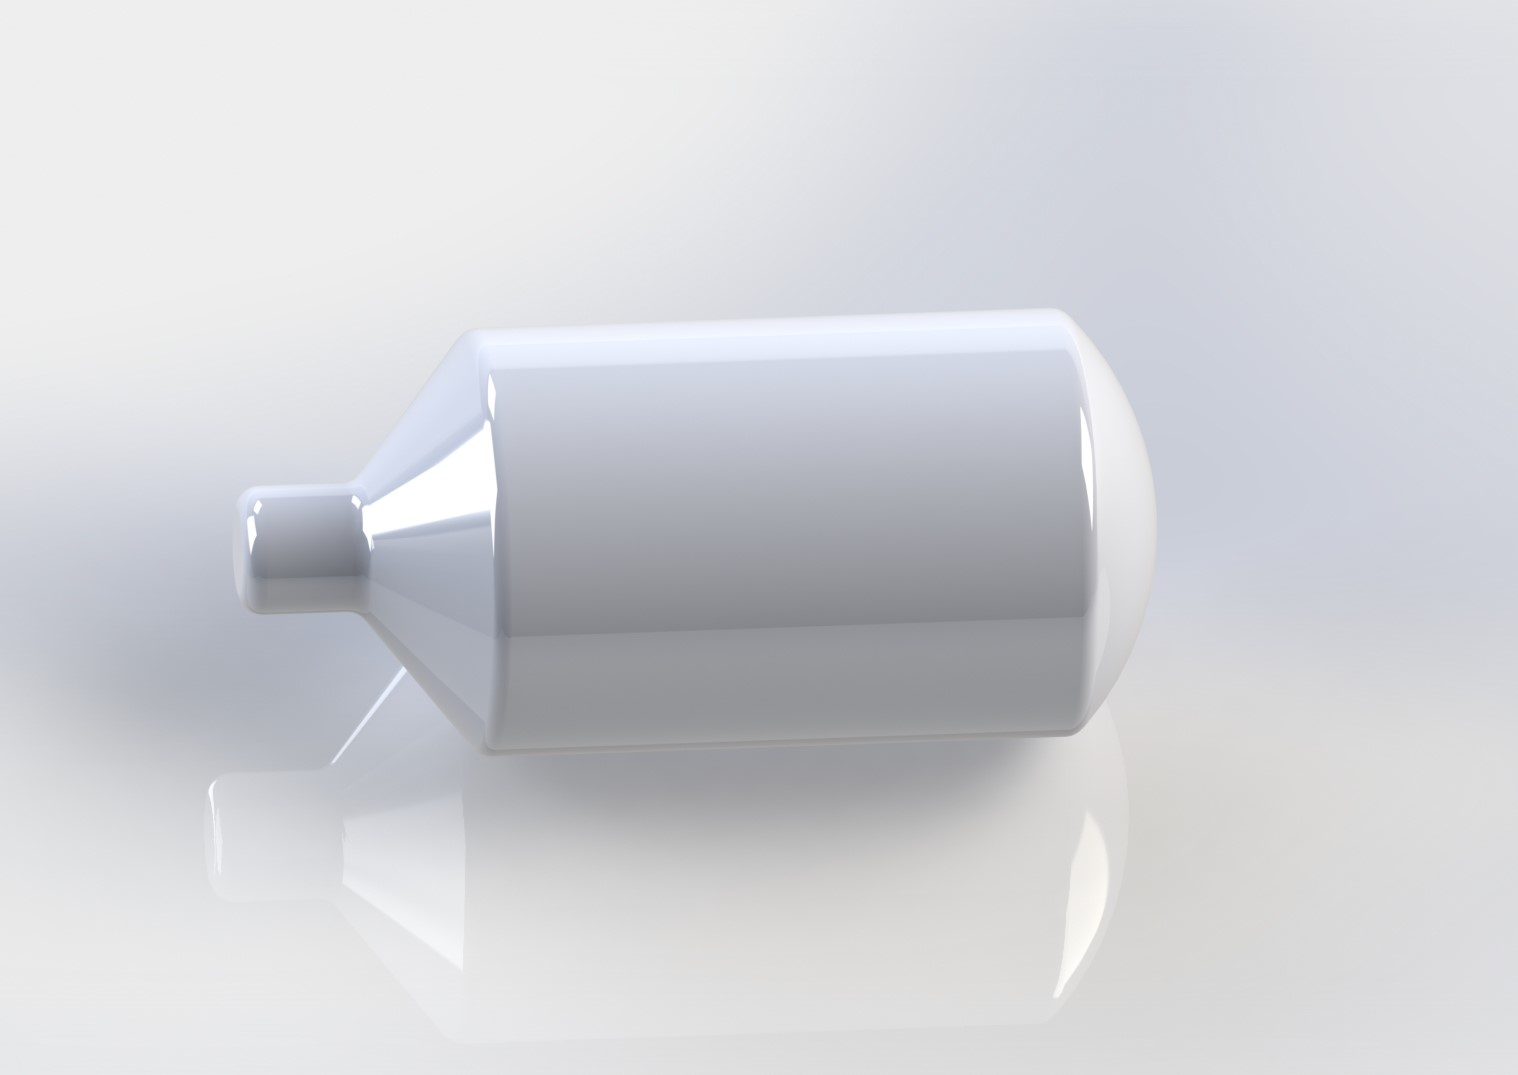
CO2 Cannister
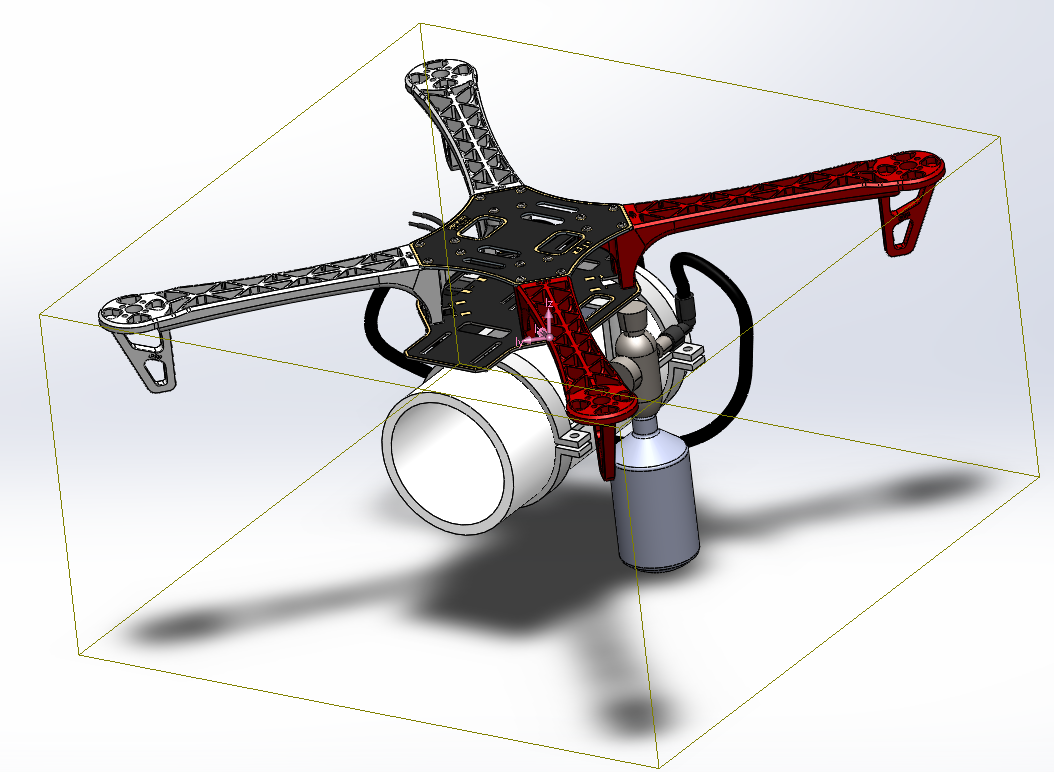
Center of Gravity
Below is a screenshot of the Arduino code to lift the motor arm and release the CO2 to propel the projectile.
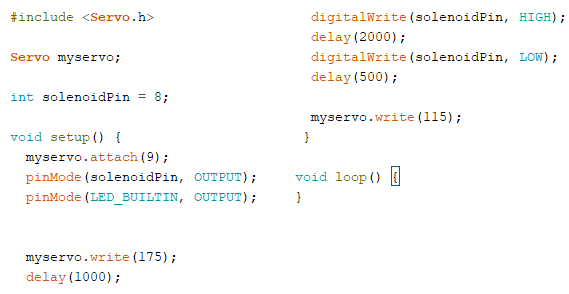
Although I do not have any past experience working with Arduino code, the code on the right was not too complicated to understand. The code creates a servo object and sets pin 8 as an output for the solenoid and pin 9 as an output for the servo. The servo goes to 175 degrees, which is the maximum angle for the servo arm to move. Afterwards, the solenoid is energized, releasing the CO2 to propel the projectile.
Below are some pictures of the assembled project.
Assembled Launcher
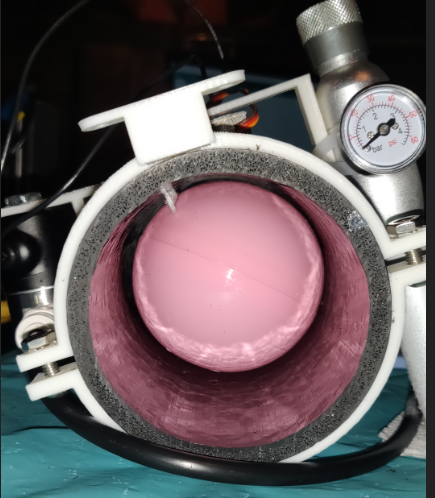
Servo Arm Blocking Ball
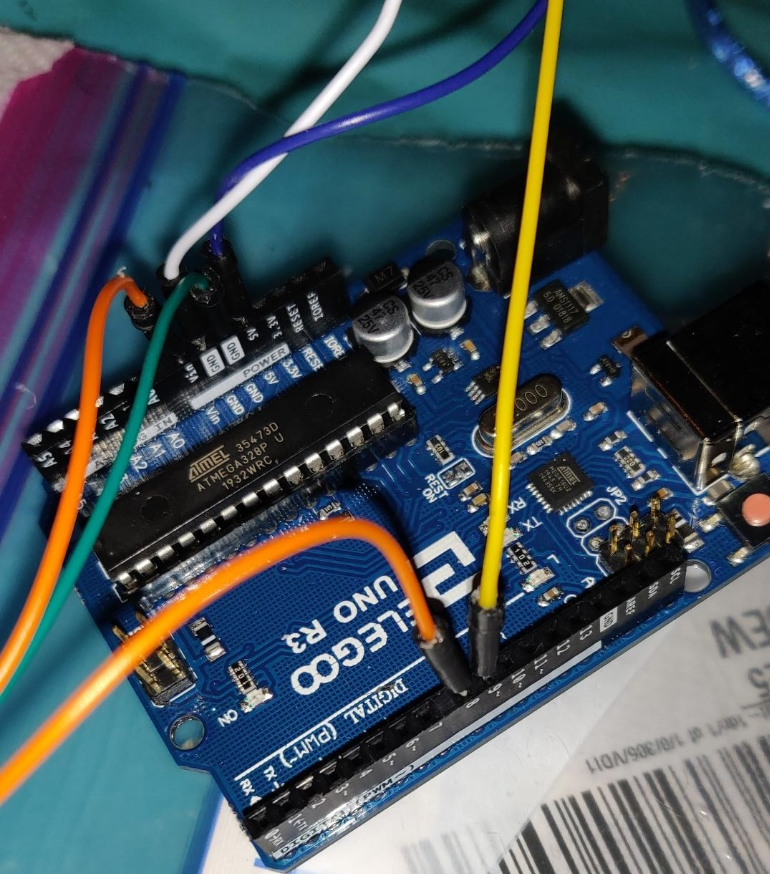
Arduino
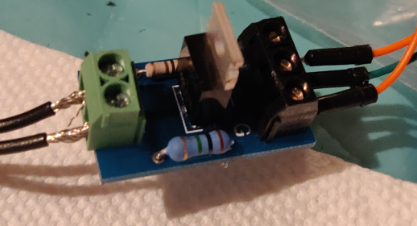
Solenoid Connection Board
Below is a video showing the mechanism releasing a ball from an incline.
Because the regulator has a leak, the launcher cannot shoot a projectile. However, this video shows the rest of the mechanism working with the Arduino code by keeping the launcher inclined. The plastic ball is kept inside with the servo arm and the servo can be heard turning to the maximum position. At this point, a tick is heard which is the solenoid opening. Due to the incline, the ball rolls out, and the closing tick is heard, as well as the servo returning to its starting position.